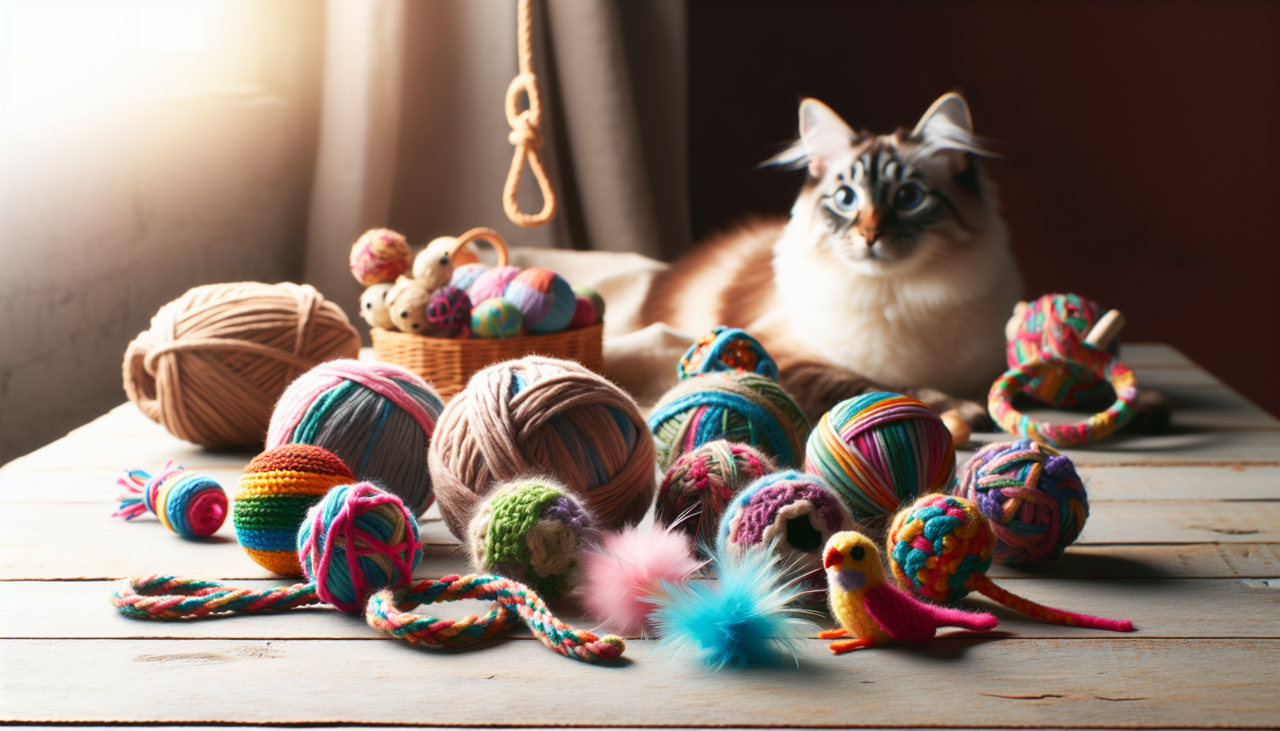
Has your dog not destroyed an expensive squeaky toy within three minutes of receiving it? Has your cat always passed by expensive laser pointers to play with the product boxes instead? Yeah, I’ve been there. The cost of pet toys seems to be wasted money because pets show no interest in them and destroy them right away. I began looking for ways to make my own pet toys. The initial apprehension vanished because building these toys turned out to be simpler than I had expected and produced much better results. The homemade toys bring more joy to my pets than commercial products do.
Why Go the DIY Route?
The cost savings of making your own pet toys are undeniable although saving money is an undeniable advantage. Creating your own pet enrichment products allows you to select every material that will come into contact with your pets. You have complete knowledge of everything your pet touches or hits since you avoid dangerous chemicals along with small parts that might detach into dangerous pieces. The process of making these items creates a wonderful opportunity to spend time with your pet because they seem to value the homemade creations even though they probably appreciate the interesting smells.
Understanding Pet Play Styles
First create your DIY project by thinking about the preferred activities of your pet. Does your pet enjoy running after objects? Are they all about tug-of-war? Do they enjoy puzzle-solving to get treats? Cats tend to hunt their prey through motion and stalking behavior but dogs tend to engage better with toys that they can bite or shake or carry. Your understanding of their natural behaviors enables you to create toys which will keep them actively engaged thus achieving success with your homemade pet activities.
Prioritizing Pet Safety
Seriously, safety first! The creation of homemade pet toys demands absolute safety measures. Always use non-toxic materials. You should not include toys with tiny buttons or loose threads or small beads because they pose the risk of being swallowed by pets. Check the cleanliness of your old fabric before making toys while eliminating all zippers and snaps and elastic parts that create potential hazards. Supervise your pet during playtime especially with a new toy to ensure they do not ingest any parts of the toy.
Supervising Playtime is Key
Things can occur despite the safest materials and construction methods. A toy might break down during enthusiastic play. Your pet might try to eat something they shouldn’t. The best way to stop accidents from happening is through active supervision of your pet when they play with their homemade pet toys. A toy needs to be retired when it displays major wear or its components start detaching from the main structure so you can build a better version.
Easy DIY Dog Tug Toy
Okay, let’s get crafting! A tug toy made from old t-shirts or fleece blankets represents one of the easiest and most well-known fun pet toy projects that people like to make. Dogs who love to pull will adore this. This toy offers durability while using materials you probably have at home and it needs no sewing abilities. The toy comes in various sizes based on the dimensions of your dog.
Gathering Supplies
A set of 2-3 t-shirts or one piece of fleece material will suffice for this project. The amount of fabric used determines both the size and strength of the toy. Select a pair of sharp scissors and find a clean workspace. Make sure the fabric is clean!
Cutting the Fabric
Lay your t-shirts flat. Cut long strips of fabric to dimensions measuring 1-2 inches in width. The strips should have some irregularity for an authentic appearance. You can obtain fleece strips from the fabric material.
Braiding or Twisting
Gather 3-6 strips together. Securely tie the ends of 3-6 strips together while leaving about 2-3 inches of free space. Braid all the strips together tightly just as you would braid hair. You can divide multiple strips into three sections to braid them together. You should maintain constant tension throughout the braiding process.
Finishing the Ends
After reaching the end of your braid leave several inches of material exposed then secure it with another tight knot which will maintain the braided design. The remaining ends should be cut to achieve uniformity or left unruly according to your preference. Voila! Your pet has a new tug toy ready to play with. My dog enjoys these toys and I have purchased several colors for them.
Crunchy Bottle Dog Toy
The crunchy bottle toy stands as one of my dog’s preferred toys because he finds amusement in noise-producing items. Your dog can both satisfy its chewing desire and experience an unusual texture and audio with this product. The method provides a quick method to create plastic bottle toys while maintaining safety standards.
Making the Bottle Toy
Search for an empty plastic water bottle (remove the cap and the plastic ring). You can use either a single sock that has lost its match or select a piece of strong fabric. Insert the plastic bottle inside a sock or encase it tightly with fabric material. Secure the ends through knotting or tying so that the bottle remains contained. The fabric acts as protection while also dampening sounds and the bottle provides the characteristic crunch. The fabric material should be strong enough to stop your pet from easily breaking through to the plastic bottle inside.
Quick Felt Cat Mouse
Cats exhibit extreme excitement when presented with light-weight toys that they can use to bat around and carry before pretending to kill them. A simple felt mouse fits the bill perfectly. This group of simple DIY pet toys needs basic sewing skills for their production.
Crafting the Mouse
Working with wool felt or craft felt pieces together with polyester fiberfill stuffing and strong thread and a needle constitutes the materials required for this project. Two felt mouse shapes should be cut from fabric with teardrop or kidney bean designs while adding a pointed tip for the nose. Sew the two parts together across all edges while maintaining a tiny gap for access. Fill the mouse tightly before closing the opening with stitches. You can make a tail from short yarn or string by sewing it tightly into the seam. Some cats go crazy for felt!
Adding Catnip for Extra Fun
For numerous felines the addition of catnip transforms an uninteresting toy into an irresistible attraction for play. When you add catnip to homemade toys it enhances your cat’s engagement with the item. Note that catnip does not affect all cats but this does not matter.
Using Catnip Safely
When you complete your fabric toy such as the felt mouse you should place dried catnip into the filling before closing it with stitches. For different toys you can apply dried catnip to their surfaces or use a catnip spray. Store catnip in an airtight container to keep it potent. Watch your cat’s reaction; some get very energetic, while others become mellow.
Toilet Paper Roll Treat Dispenser
Puzzle toys represent excellent tools for mental stimulation as well as boredom prevention. The basic recycling-based diy fun pet activities toy requires items that most people can find in their recycling bin at this moment. Both dogs and cats find this toy to be excellent.
Creating the Dispenser
Start with an unused toilet paper roll or paper towel roll that you should shorten to size. Close the tube ends by folding them inward to create two separate flaps. Place several kibble pieces or small treats inside the tube after you partially fold the second end. Fold and secure the second end. Your pet needs to push and paw at the tube before rolling it to release the treats. The process provides an enjoyable puzzle for pets while also helping to reduce the speed at which they eat.
Utilizing Household Recyclables
Household items will reveal numerous creative possibilities for DIY pet projects to you. The following household items can be transformed into safe pet toys: old towels, t-shirts, socks, fleece blankets, cardboard boxes and paper towel tubes and plastic bottles. The safety rules include removing small parts and maintaining cleanliness and watching your pet during playtime.
Safe Materials Checklist
- Old T-shirts (cotton)
- Fleece fabric scraps
- Denim (from old jeans)
- Old towels
- Clean socks
- Felt
- Clean, empty cardboard tubes (toilet paper/paper towel)
- Clean, empty plastic water bottles (labels and rings removed, used inside fabric)
- Natural rope (check for shedding fibers your pet might ingest)
Mental Stimulation is Key
A toy serves as a powerful tool which offers mental stimulation. The toilet paper roll dispenser represents a type of puzzle toy which provides mental challenges to your pet at the same level of effectiveness as physical exercise. The practice helps prevent destructive behavior that occurs when pets become bored. Your pet benefits from rotating through these kinds of fun pet toy projects according to the article fun pet toy projects.
Enjoying the Creation Process
The process of crafting items for your pet brings significant enjoyment as a hobby. When you create handmade objects for your pet using your own hands you get a sense of satisfaction from knowing they will enjoy them. This creative practice enables you to provide additional affection to your pet through practical means. You will obtain distinctive toys which no other person possesses.
Wrapping Up Your DIY Adventure
The process of creating your own DIY pet toys proves simple and affordable while delivering strong benefits to both you and your pet. Simple fabric tugs and felt mice together with puzzle feeders made from cardboard tubes represent just a few examples from the numerous diy pet toy ideas available. Safety should always be a priority during playtime while you supervise your pet and enjoy these basic diy fun pet activities. Your pet will show their gratitude through their happy purrs and wagging tails.